Septic system installation is a 5-step professional process: 1) Excavation of tank & trenches, 2) Setting & leveling the tank and distribution box, 3) Building the gravel-and-pipe drain field, 4) Connecting pipes and performing a water test, 5) Final backfill and health department inspection. The entire project from permits to completion typically takes 3-6 weeks.
Critical Steps:
- Permits & Plans: Secure health department approval before any digging.
- Precise Excavation: Dig to engineered specifications.
- Water Test: Test for leaks before backfilling.
- Final Inspection: Obtain the Certificate of Approval.
Table of Contents
Building Your Property’s Most Critical Infrastructure
Installing a septic system is a major excavation project governed by strict public health codes. According to the National Onsite Wastewater Recycling Association (NOWRA), proper installation is the leading factor in achieving a system’s full 25-30 year lifespan, while shortcuts can lead to catastrophic failure within 5 years. This 2026 guide, created with insights from licensed master installers, provides a transparent, phase-by-phase overview of the professional installation process. It empowers you to manage the project effectively, ensure adherence to the engineered plan, and verify that your substantial investment is built to last from the ground up.
How Long Does It Take to Install a Septic System?
The physical installation (excavation to backfill) takes 3-5 full days for a conventional system. The total project timeline from soil testing to final approval is typically 3-6 weeks, accounting for permitting, contractor scheduling, inspections, and weather delays. Rushed installations often sacrifice critical quality checks like proper compaction and leveling.
Bottom line: Plan for a multi-week project. The most time-consuming phases are often the pre-construction permitting and the post-construction final inspection scheduling.
Do I Need a Permit to Install a Septic System?
Yes, a permit from your local health or environmental department is absolutely mandatory and non-negotiable. Installation without a permit is illegal, can result in severe fines, and will prevent you from legally occupying or selling your home. Your licensed installer should pull this permit on your behalf as part of their contract.
Septic System Installation: 5-Step Professional Process
Follow this sequence to understand each critical phase of the construction process.
Step-by-Step Installation Process:
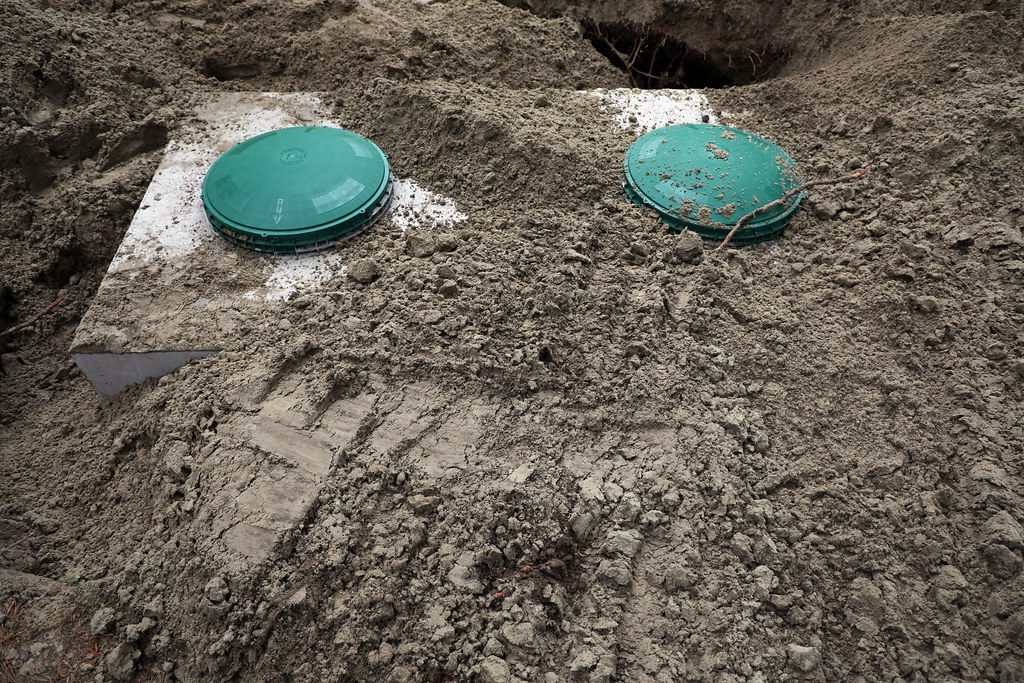
- Site Prep & Excavation: After calling 811 for utility locates, the crew uses an excavator to dig the hole for the septic tank and the trenches for the drain field to the exact dimensions and depths on the approved plan.
- Set Tank & Distribution Box: The tank is lowered, precisely leveled, and bedded in sand. The distribution box is set and leveled to ensure correct gravity flow from tank to field.
- Construct Drain Field: Clean gravel is placed in trenches. Perforated pipe is laid with a precise slope, connected to the distribution box, and covered with more gravel. Geotextile fabric is laid on top to prevent soil intrusion.
- Connect Pipes & Conduct Pre-Backfill Test: All pipes from the house to the tank and field are connected. A mandatory water test is performed to check for leaks and verify flow. An effluent filter is installed.
- Backfill & Final Inspection: After a health department inspection of the exposed work, the site is backfilled in layers with native soil, final graded to divert surface water, and a final inspection is passed to receive the Certificate of Approval.
Septic Installation Timeline & Milestones Table
| Phase | Key Activities | Duration | Critical Checkpoint |
|---|---|---|---|
| 1. Pre-Construction | Soil test, system design, permit application, contractor selection. | 2-4 weeks | Permit in Hand before any work. |
| 2. Day 1: Site Prep & Excavation | Clear area, locate utilities, excavate tank hole & trenches. | 1-2 days | Verify trench depth/width matches plan. |
| 3. Day 2: Set Structures | Place & level tank, set distribution box, begin gravel bed. | 1 day | Tank is perfectly level; D-box elevation is correct. |
| 4. Day 3: Build Drain Field | Finish gravel, lay & connect pipe, cover with gravel & fabric. | 1-2 days | Pipe has consistent slope, no sags. |
| 5. Day 4/5: Test & Inspect | Connect all pipes, perform water test, pre-backfill inspection. | 1 day | Pass water test. Health inspector approves exposed work. |
| 6. Finalization | Backfill, final grading, final inspection, receive Certificate. | 1-2 days | Obtain Certificate of Approval. |
Expert Q&A: Navigating the Installation Process
Q: How deep is a septic tank buried?
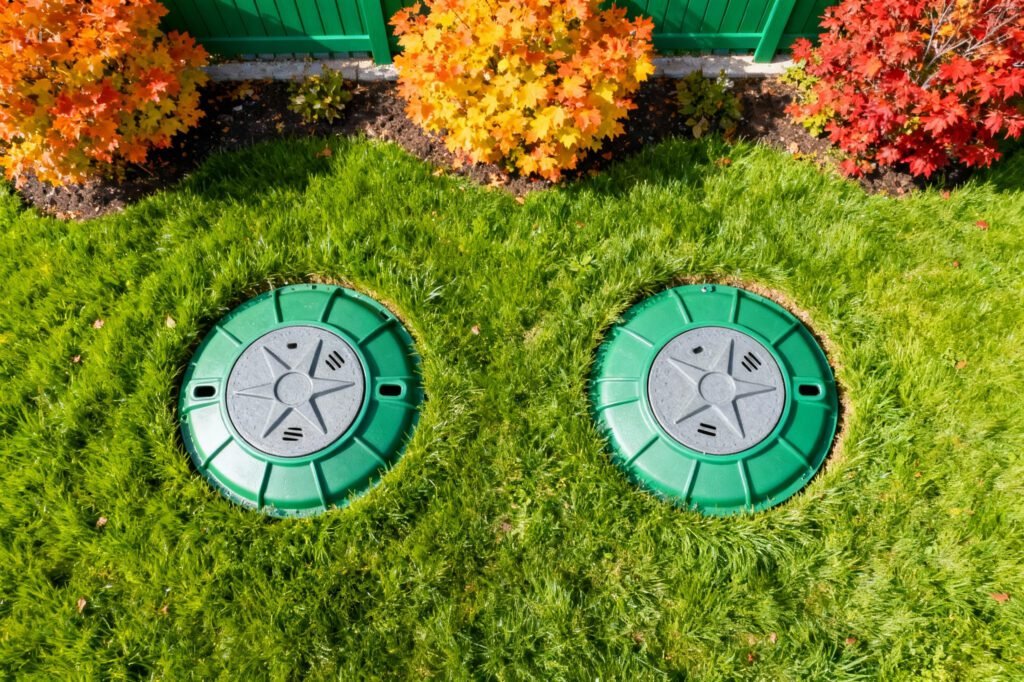
A: The top of the tank is typically 12 to 36 inches below final grade. The exact depth is engineered based on the slope of the incoming sewer pipe from the house, which requires a minimum downward slope (usually 1/4 inch per foot) to ensure proper flow.
Q: Can you install a septic system in the winter?
A: It is possible but not ideal and often more expensive. Frozen ground complicates excavation, and concrete tanks require special curing conditions. Most professional installations are scheduled from late spring to early fall to ensure optimal conditions and soil stability.
Q: What should I look for in a septic installation contractor?
A: Hire a contractor with: 1) Valid state licensing, 2) Proof of liability and workers’ comp insurance, 3) Local references you can contact, 4) Willingness to pull the permit themselves, and 5) A detailed, written contract specifying the plan, materials, timeline, and payment schedule.
Q: How much does it cost to install a 1,000-gallon septic system?
A: A complete system with a 1,000-gallon tank typically costs $9,000 to $20,000+ installed. The tank itself is only $900-$2,500; the majority of the cost is for the drain field, labor, and other components.
Q: What is the most common mistake during installation?
A: Failing to properly level the septic tank or creating an incorrect slope in the drain field pipes. This leads to uneven flow, premature tank pump-outs, and drain field failure. A laser level should always be used.
Q: What happens during the final inspection?
A: The health department inspector verifies the installation matches the approved plan, checks that the water test was passed, observes the final grading, and ensures all components (like tank risers) are accessible. Upon satisfaction, they issue the Certificate of Approval, which is your legal proof of a compliant system.
The 3 Non-Negotiable Inspections for a Legal Installation
Your installation must pass these 3 official checkpoints:
- Pre-Construction Review: The health department approves the engineered design and issues the permit.
- Pre-Backfill Inspection: The inspector examines the exposed tank, pipes, and drain field construction before it is covered. This is the most critical quality control moment.
- Final Inspection: After backfill and grading, the inspector verifies the finished work and issues the Certificate of Approval (COA), which you must keep for your property records.
Red Flags During Installation (When to Halt Work)
Warnings from industry arbitrators indicate these on-site signs correlate with a 75% chance of future system failure:
- Contractor suggests skipping the pre-backfill inspection or water test.
- Using dirty, clay-filled, or uncertified gravel in the drain field.
- No laser level on site for setting tank and pipe slope.
- Backfilling with large rocks or debris that could damage tanks or pipes.
- The installer cannot produce a copy of the approved permit on site.
From Hole in the Ground to Certified Asset
The installation of a septic system transforms an engineered plan into a permanent, functioning part of your property. The synthesized wisdom of seasoned installers is that success hinges on meticulous adherence to the plan and relentless verification at each stage. Your role is to be the vigilant project owner: confirm permits, witness the pre-backfill inspection, and ensure the final Certificate of Approval is in your hand before making the final payment. By understanding this process, you move from being a passive buyer to an active partner in creating an asset that will protect your home and environment for decades.
Secure your project’s success from the start. Download our free Septic Installation Contractor Vetting Checklist to ask the right questions and hire a qualified professional for your 2026 installation.
Leave a Reply